

Post Hole Auger: Where to use it?
Post Hole Auger is used for numerous projects. It is used for building decks, retaining walls, any fences. Basically, for any structure that requires vertical posts, you will need to dig a round post hole. This is where the Auger comes in. By attaching the Auger to the mini excavator you will be able to efficiently and accurately dig post holes. When using an Auger you will quite comfortably cut your digging time to 1/3 of what it would take to do it with a shovel.
How to use it?
There are two parts to using the Auger which are the Auger Driver — the motor that turns the Auger; and the Auger bit– which attaches to the Auger to screw holes into the ground. You can get all different size Augers but the most common is 300mm for decks, fences and small retaining walls and 450mm for larger retaining wall and bigger structures. You should seek the advice of an engineer if you are unsure what size Auger is required for your project.
If you have never used an Auger before, it’s quite a simple process, here is how to attach the Auger.
In this example, the equipment we are using are the following:
How to start:
The concept of successfully operating a mini excavator with an auger is this — correctly attach the augers to avoid damage when you start digging holes. Here’s the process:
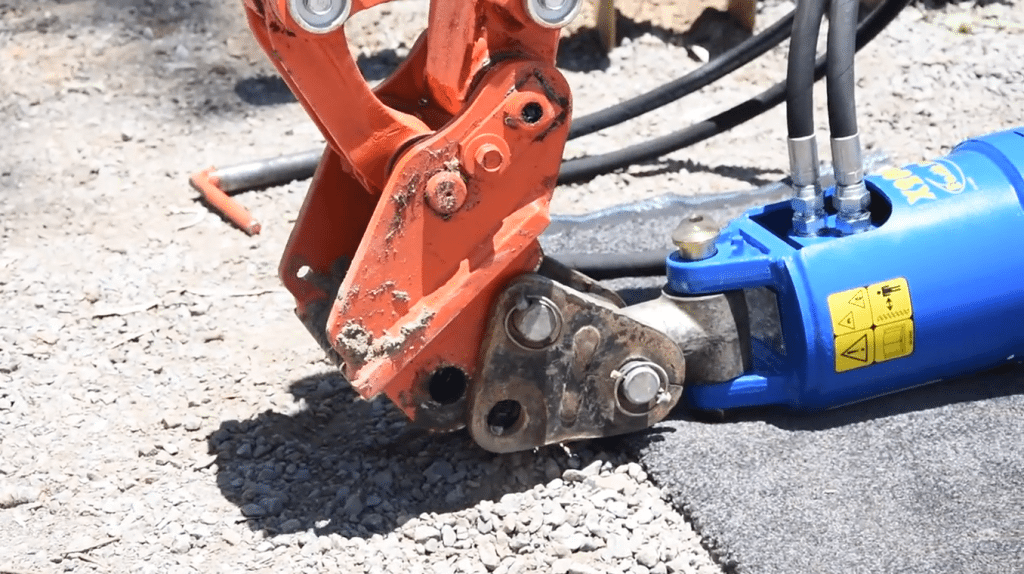
Step 1: Correctly Attach the Auger Driver to the Excavator
- Lay it down in the correct position with the hoses facing up, this will.
- Allow the hitch to pick up the auger
- Allow the operator to see the hoses all the time so they don’t get damaged while in use.
- Pick up the Auger by bringing the excavator hitch slowly from behind to connect with the Auger hitch.
- Lift the Auger all the way off the ground.
- Locate the hitch pin position and push the pin through
- Install the locking pin
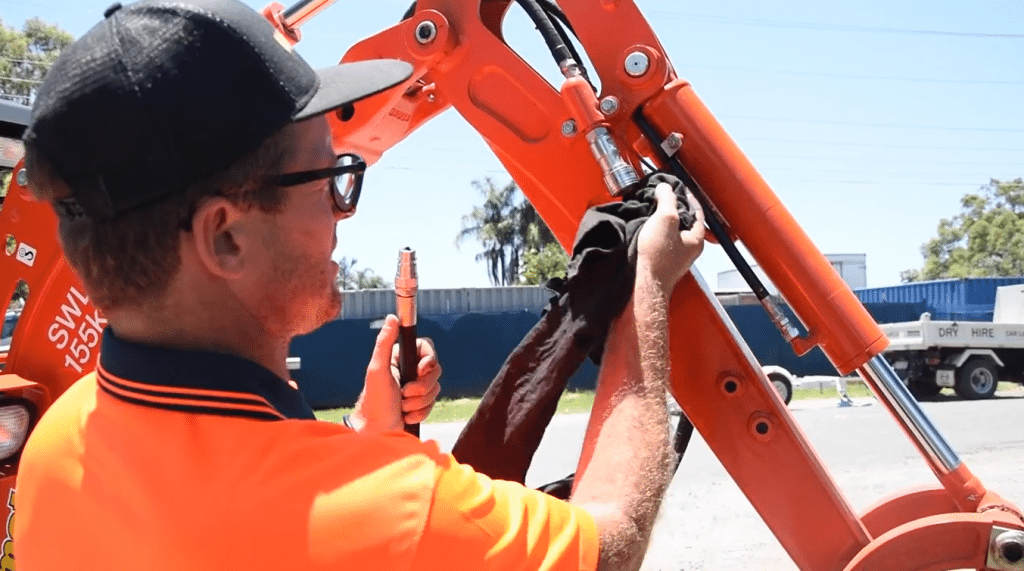
Step 2: Connecting the Hydraulics
- Identify the male and female couplers on the Auger hose and the excavator
- Clean the couplers out with a rag
- Pull back on the coupler collar and connect the male to the female on each side
- If they don’t go in you may need to release the pressure from the hoses. Turn the machine on then turn the machine off making sure the key stays in the neutral position, not the off position. Move your auger peddle (which is the foot pedal on the left) left and right to release the pressure in the lines. Now the auger hoses will slide on easily.
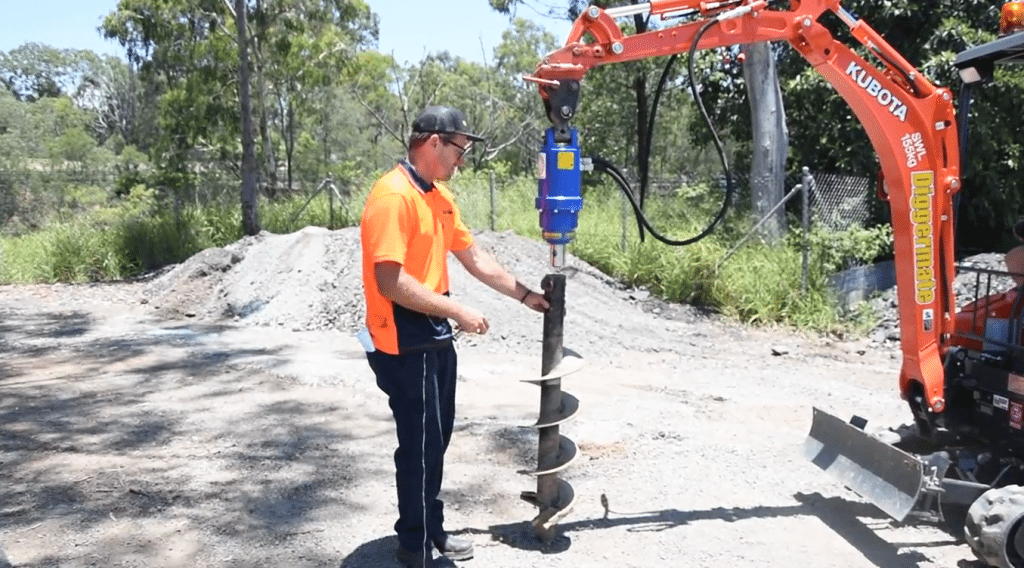
Step 3: Attach the Auger Bit to the Auger Driver
- Have a mate hold the auger vertically standing on the ground
- Position the auger driver into the Auger bit
- Rotate the Auger slowly by ensuring your throttle speed is slow and use your left foot peddle till they hole in the auger driver and auger bit line up.
- Slide the auger pin through
- Attached the safety pin.

You’re now ready to start using a post hole auger.
Finally, you’re all set to start digging holes and successfully operate a mini excavator with an auger. Hooray!
Safety tips: Put the dozer blades down and don’t work too far away from the auger to ensure the mini excavator won’t tip while you dig holes.

