
Mini Excavator Digging Bucket
Mini excavators are your best mates for DIY projects such as landscaping, retaining walls, digging for pool, and more.
Mini excavator hire usually comes with 3 buckets and a ripper that you can interchange while using the machine. In this post, we’ll be sharing 6 basic how-to steps in removing and changing mini excavator buckets on your own.
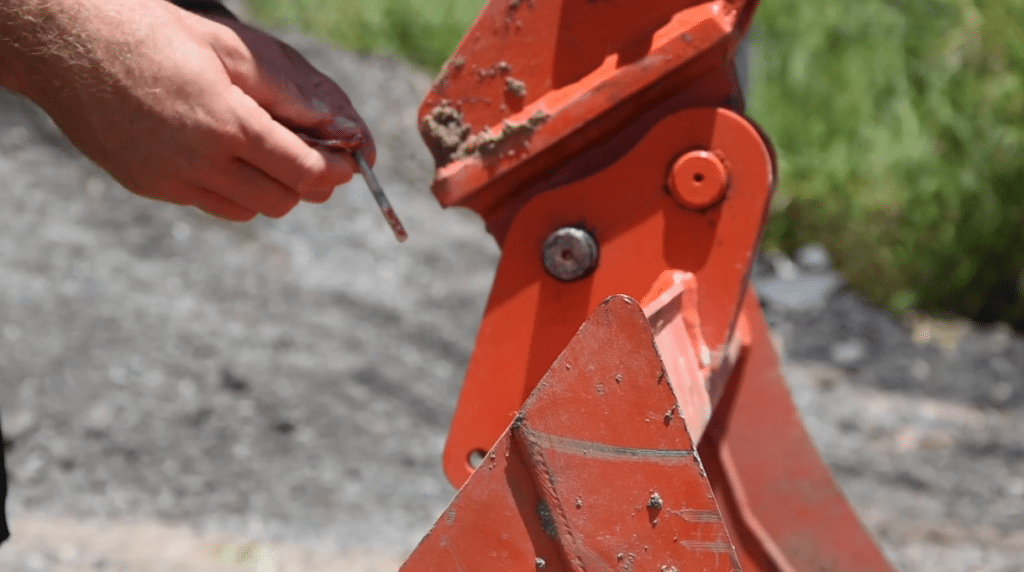
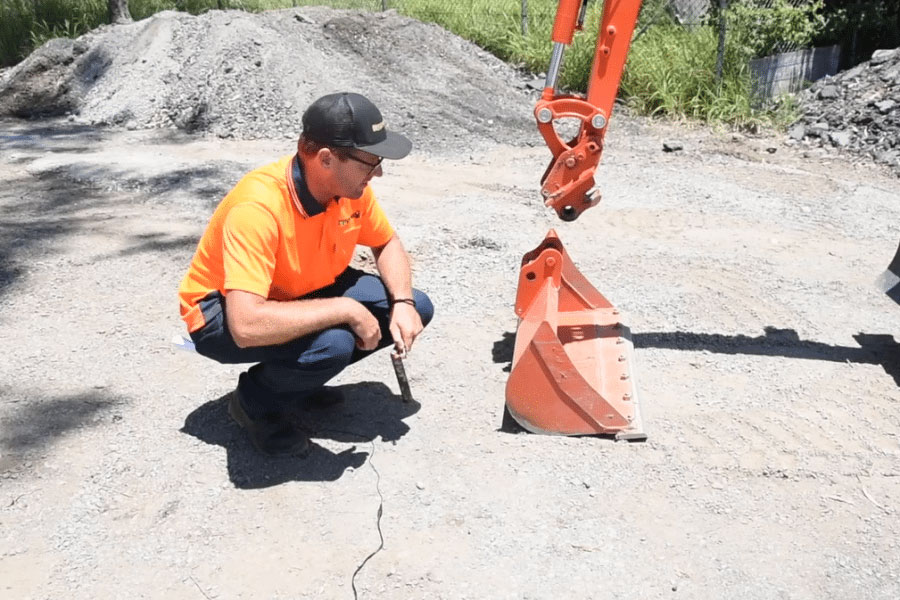
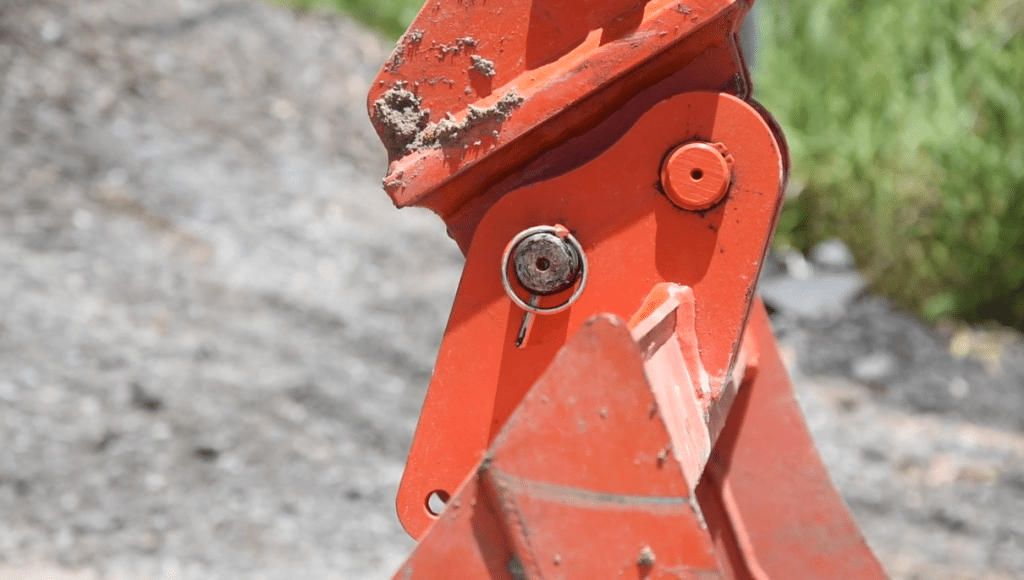
Step 1: Remove the Safety Pin
The first step is to lift the bucket up off the ground. Second, remove the safety pin by pulling up the ring and sliding the safety pin out.
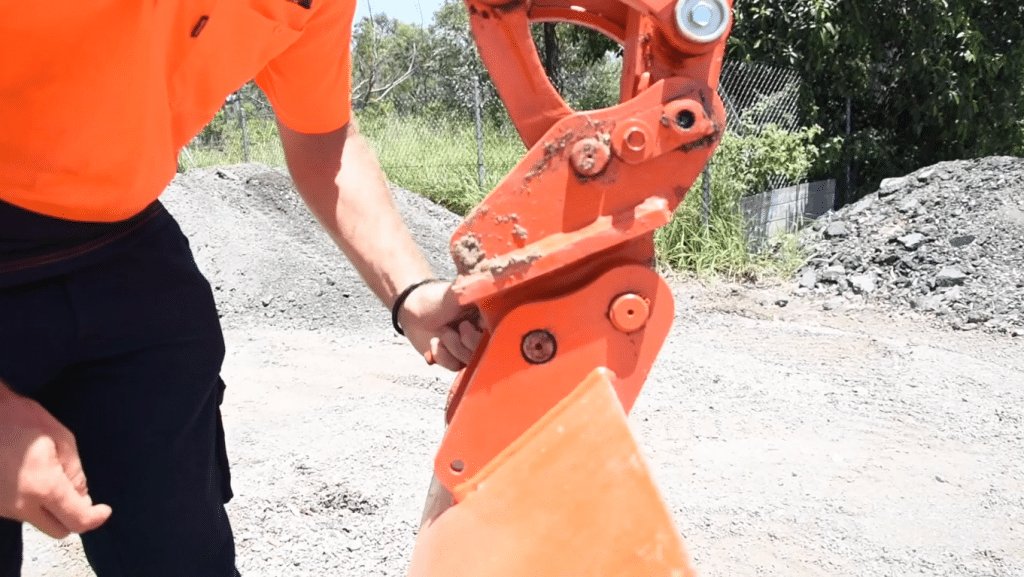
Step 2: Detach the Bucket from the Mini Excavator
You will need to crowl the mini excavator bucket in or out to the right position. In this way, the bucket won’t load too much weight on the pin. If there is too much weight on the pin, you won’t be able remove it.
The correct position is having the bucket open to the machine with the top edge of the bucket facing down to about the 5 o’clock angle. You will now be able to remove the bucket pin. The second option is to use your body weight to push the bucket. Do it back and forth a little bit from behind for the pin to come loose. If this still doesn’t work, you will need to try crowling the bucket to a different angle. If you watch the pin as you are doing this, you will be able to find the right spot.
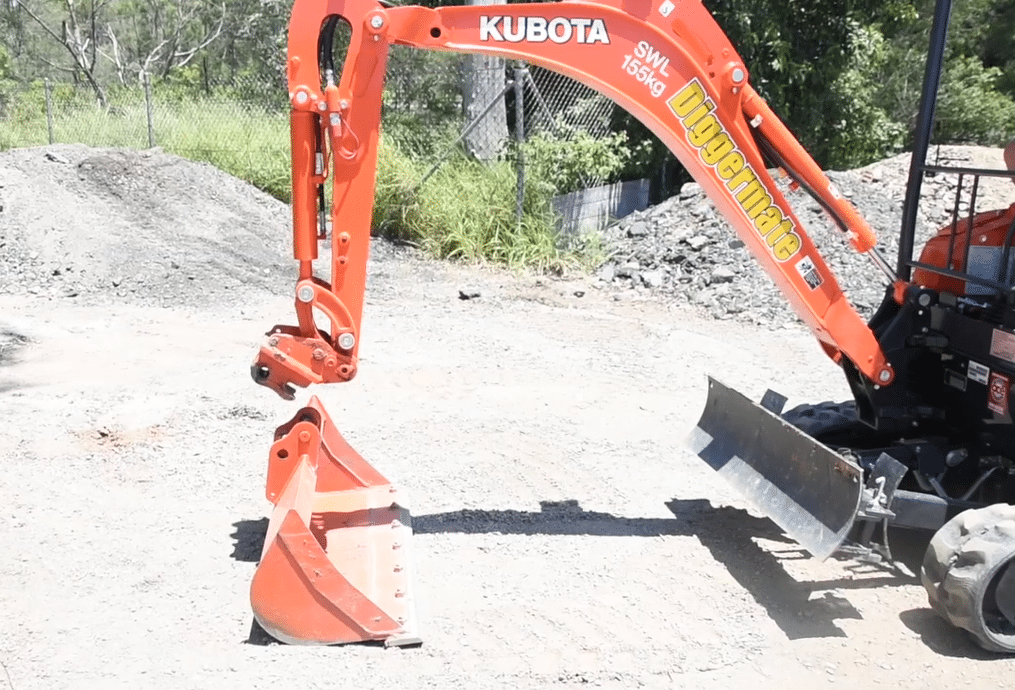
Step 3: Remove the Bucket
Once you have removed the bucket pin, you can crowl the hitch out all the way till the bucket drops onto the ground.

Step 4: Preparing to Pick up the Bucket
In preparation to pick up the bucket, make sure that it’s in the right position with the hitch on the far side and squared up to the mini excavator so that you can easily pick it up. Once done, reduce the throttle speed to its slowest position. This will help the boom to have smaller movements and be much smoother. With the mini excavator hitch crowled open, bring it around the back of the bucket and in between the bucket ears.
Step 5: Pick up the Bucket and Replace Safety Pin
Now crowel the bucket closed to allow the bucket pin to slot into the excavator hitch. Continue to to crowel the bucket all the way in and lift up the bucket. The bucket pin will slip down into its correct position and now you can crowl the bucket out to line up the bucket pin holes ready for the pin to go through. Lastly, replace the bucket pin by pushing it all the way through, and now replace the safety pin and you are ready to work.

Additional Tips
- Low speed is the key to picking up the bucket.
- If you have trouble removing the pin, use your body weight against the bucket to push it back and forth to allow the pin to come loose.
- Have a mate help you the first time.

